ILLUSTRATED GUIDE · 10 STEPS
Christmas Tree Fold
Share
One napkin, ten steps. Follow both pages in order, shaping the left side before the right.
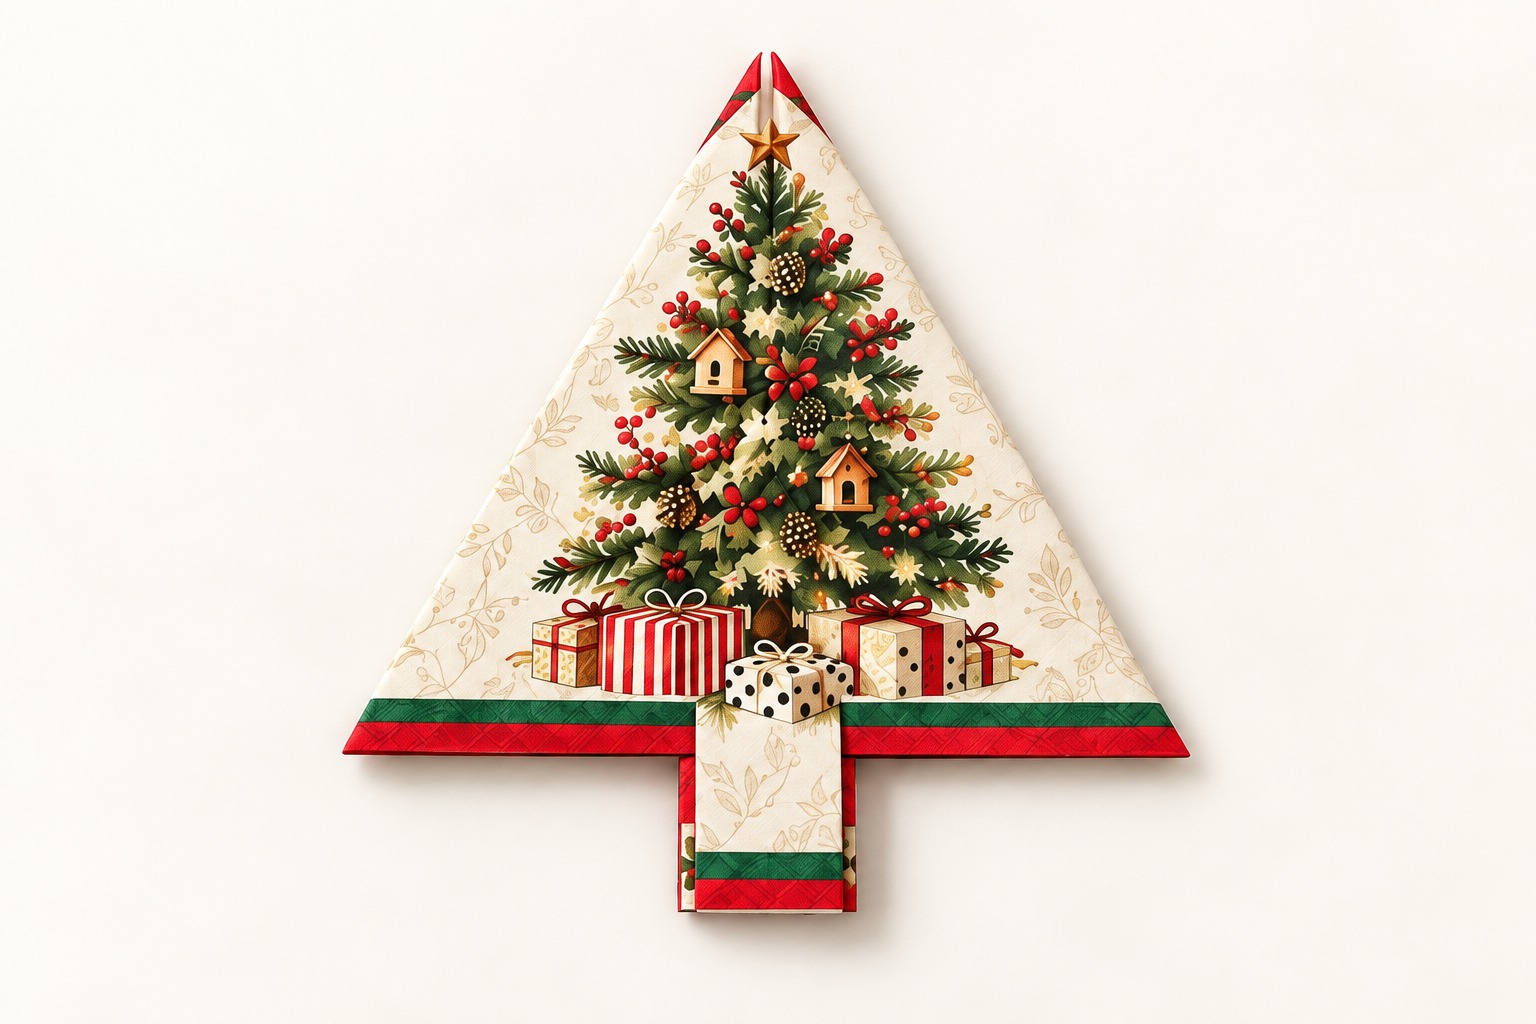
Illustrated folding guide. Printed motif positions are illustrative; your folds and finished result may vary. Image labels are in English.
Step by step

1–6 · Build the base: open one fold into a tall rectangle; fold the bottom corners inward, then narrow both sides again. Lift the lower point to the top edge, turn the whole napkin over, then lift the front edge and fold it toward you and down.
View larger image ↗
7A–10 · Reach inside the left fold, lift the inner paper, spread it rightward and press flat. Keep the right rectangle open until the left is finished. Repeat on the right, settle the lower folds around the central tab, then turn the whole napkin over to finish. Do not separate the tissue plies.
View larger image ↗